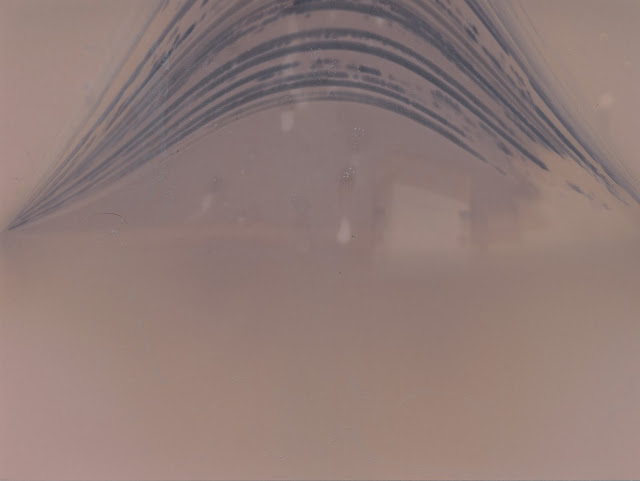
With some help from a friend who lent me the roof of his Apartment building, we managed to take my best pinhole camera exposure to date. It's still not great, but I'm pretty new to the art form and it's going to take some practice to get right. This one was exposing for about 5 months from January to June 2013, facing South. About half the frame is taken up by the roof of his building, and the rest should have looked like the city skyline, but it came out quite blurry. The instructions I followed online for making them suggested a 1mm diameter hole, but I think that was misguided. 1mm is the diameter of a small nail, and everything came out fuzzier than a Georgia peach. I think using an actual pin to make the hole as recommended in
these instructions would lead to much better results in the future! Also, after some experimentation with horizontal mounting, I would say that those shots were disappointing. Be sure to mount your drink-can camera vertically (the way the can would sit if it was on the table) for best results.
In a
previous blog post I suggested that the photo paper was forgiving to moisture, but the results of this image leads me to believe that in fact the fine details are washed away by any water or condensate that gets in, leaving only the bold sun-trails.
I've got a lot more of these in the works! For now, enjoy my first kind-of decent pinhole camera photo.
 |
| The roof of an apartment building North of Lake Union, facing South over the city of Seattle. 1mm diameter pinhole, exposed on resin-coated 5"x8" black and white photo paper. January-June 2013. |
It can be improved quite a bit with
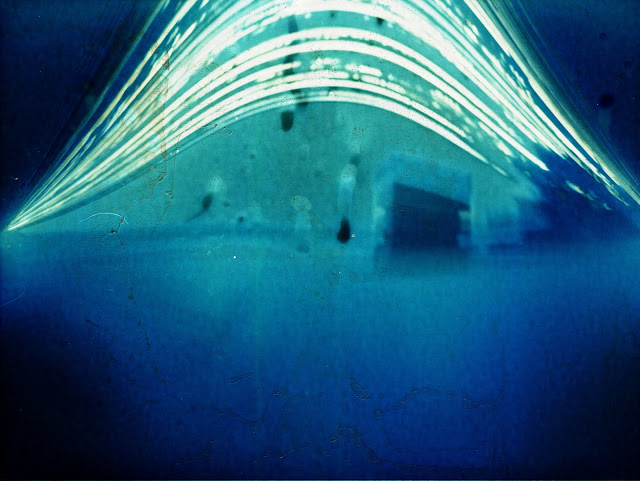
GIMP, though. If I invert the colors then take a look at the color curves, I can select a curve to improve the dynamic range of my image.
 |
| Improving the dynamic range of my pinhole camera picture using the magic of GIMP. |
The end result is certainly a lot more interesting to look at than the original!
 |
| The same image as above, with colors inverted and dynamic range improved in GIMP. |


No comments:
Post a Comment
Note: Only a member of this blog may post a comment.